
Sometimes there is a need for extra info to be added or edited on a Bookshelf title that is not coming from the Biblio feed or from MasterPlan. e.g. to add a YouTube video link to a title.
In these cases, it is possible for Super Users to edit the information in the Webflow CMS directly.
In order to become a Super User and Bookshelf editor:
Once set up, to add and alter the CMS:
1. Log-in to bookshelf.bonnierbooks.co.uk?edit using your Bonnier Super User member name and password.

2. Once logged in, click the Collections tab at the bottom of the screen

3. Search and Find the Bookshelf tile you want to edit
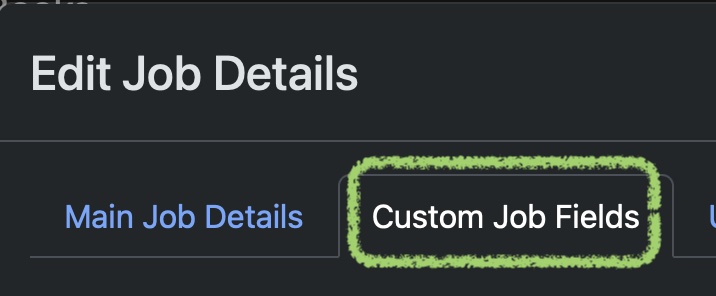
4. Make the change to the CMS

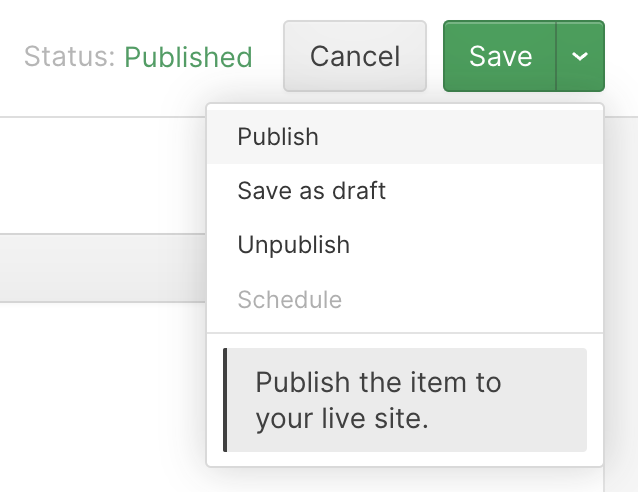
5. Save and publish to see the changes on the live site
Bookshelf for Bonnier features auto generated presentation slides for every title, which can be pulled together into Collections.
Along with the latest front cover artwork and Biblio sales and production data there are four spreads included to show examples of the book's internal pages.

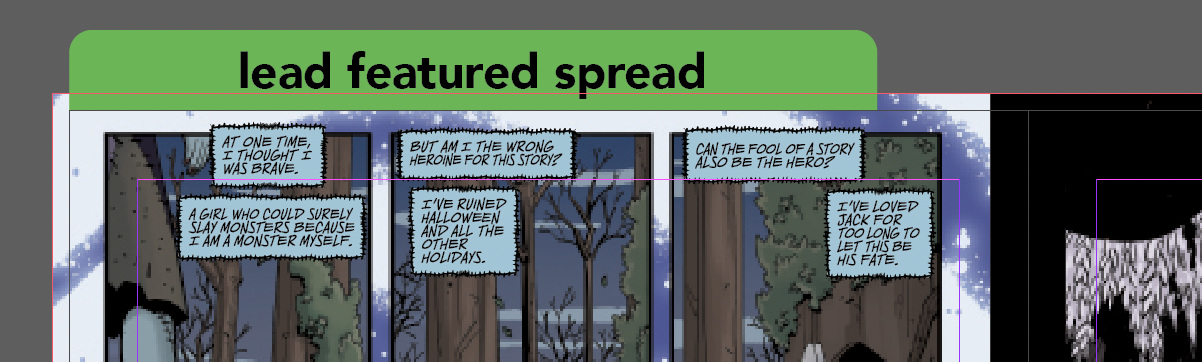
Each slide has space for one lead featured spread and three additional featured spreads.
The featured spreads to be used for a title can be altered by users either in InDesign with GreenLight or online with MasterPlan.

Tip: The visible spread may not be the active spread. To ensure it is select an object on the spread, use the InDesign Layout menu > Go to Page (⌘J) or double-click the spread thumbnail in the Pages panel.


To alter the featured spreads in InDesign, repeat the steps above and choose replacement spreads when prompted.
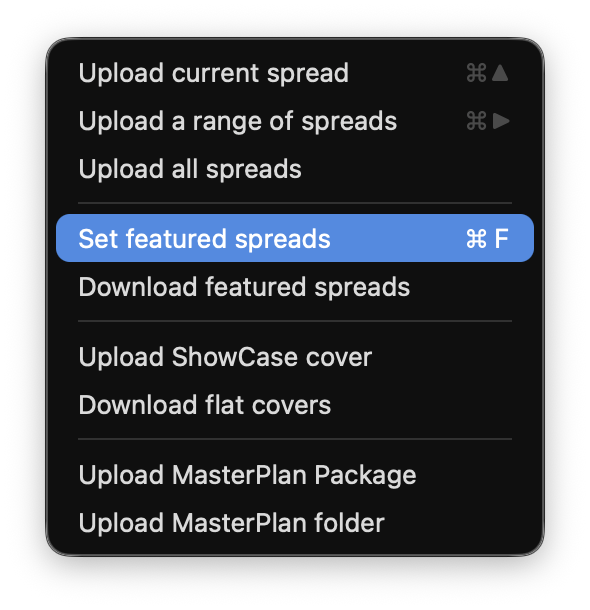
Alternatively, featured spreads can be set and altered directly with MasterPlan, without the need for InDesign:

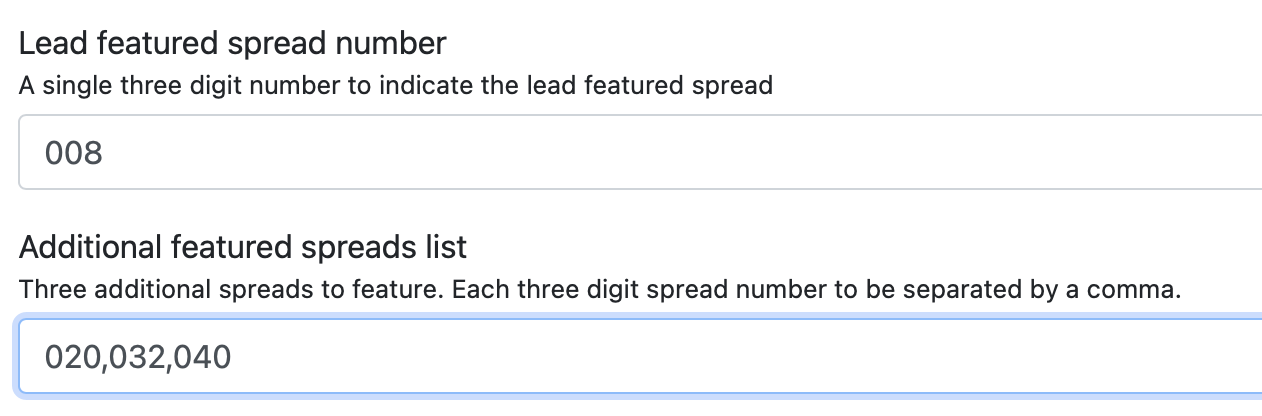
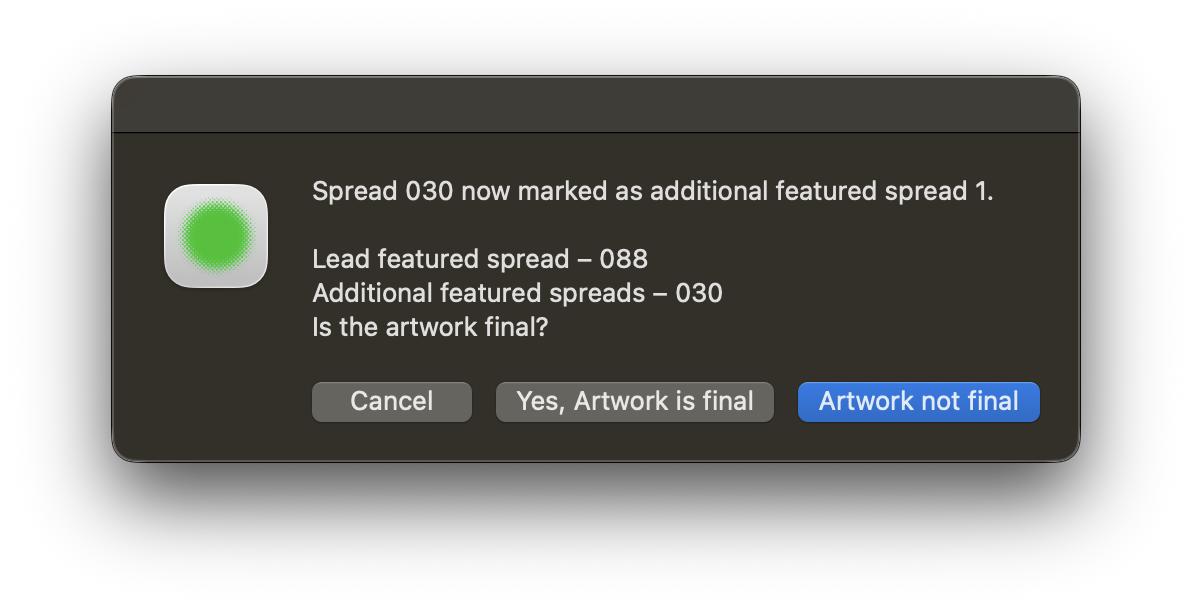
When entering featured spreads in this way, take extra care to use three digit spread numbers and to enter spreads that are present in the MasterPlan!
Use the even number of the left hand page for facing page spreads.
Sometimes there is a need for extra information to be shown on a Bookshelf title page that is not coming from the Biblio feed. e.g. complex and recently updated rights information.
In these cases, it is possible for Bonnier Bookshelf Editors to edit the information in a special User Entered info area directly on a title's product page.
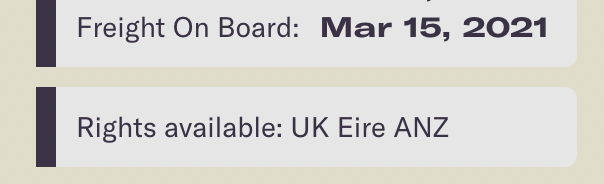
Once User Entered info has been edited and published, it quickly appears on the live site for all users to see.
In order to become a Bonnier Bookshelf Editor:
Once set up, to add and alter User Entered Info:
1. Log-in to bookshelf.bonnierbooks.co.uk?edit using your Bonnier Bookshelf Editormember name and password.
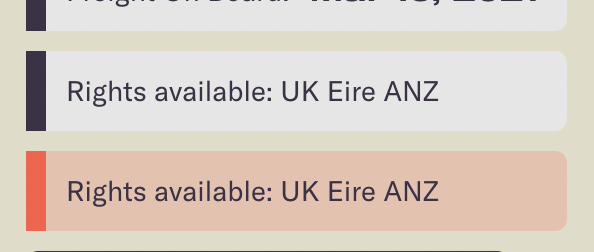
2. Find the Bookshelf product page you want to edit in your usual way. As a logged-in Bonnier Bookshelf Editor you will see an extra text editing area in orange underneath the main product data panel.
This orange panel is hidden for other website visitors.
3. As an Editor, click the editing pencil icon in the bottom right of the browser window and log-in using your your Bonnier Bookshelf Editor email and password.
4. Then click the Edit Site button
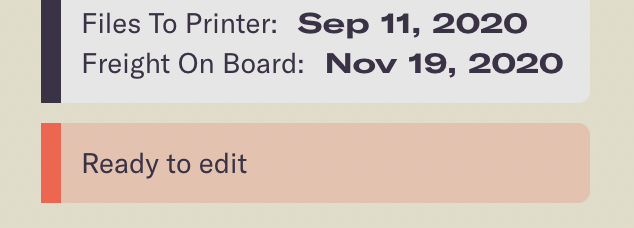
5. Click on and edit the User Entered info in the orange text editing area to add and alter the User Entered info displayed on a product page. If this text reads Ready to edit there is no User Entered info displayed to other users.

6. Click off the orange text editing area to see the User Entered info added to the page above the orange text editing area. Continue editing the orange text editing area as required. Take care not to edit any other parts of the page!
7. When edits are complete, click Back to live site to move to another page and repeat from step 4 to edit more User Entered info.
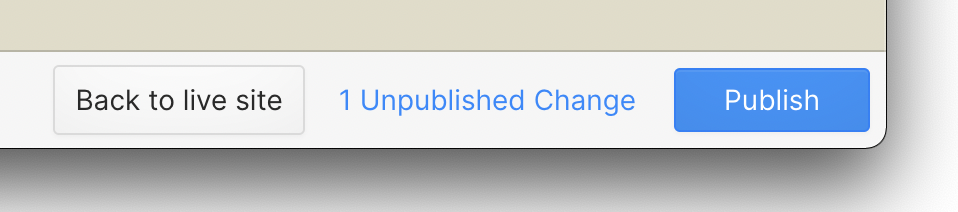
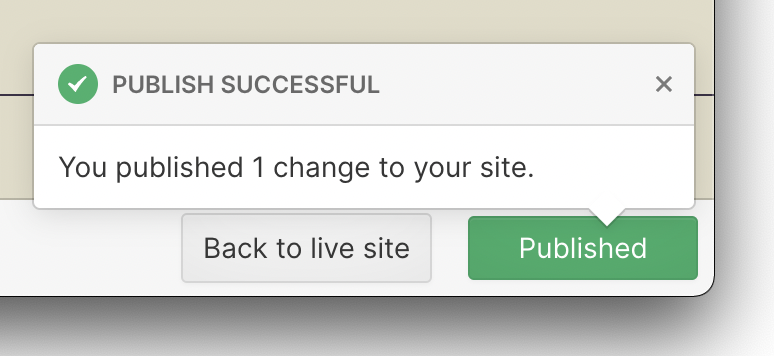
8. When edits are done. Click the Publish button and wait for confirmation.
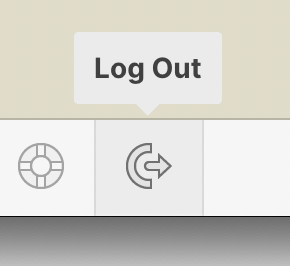
9. Choose to Log out to be sure you have stopped editing the site!
You will always still see the orange text editing area when logged in as a Bonnier Bookshelf Editor.
10. To remove previously added User Entered info, set the text back to Ready to edit so there is no User Entered info displayed to other users.
The What's New? page gives internal users a quick look at which title have been updated.
After logging in to Bonnier Bookshelf, go to bookshelf.bonnierbooks.co.uk/internal/whats-new

This one page is split into three sections to show which titles have recently had updates to cover artwork, internal pages and sales and production data.
Each section splits the content into shelves to show the most recent changes at the top.
The tiles are arranged on the shelves in the order of the date of the last change with the very latest changes on the left. Click the arrows, if shown, to move to more titles on the shelf.
Changes titles in the last week, month and three months are shown for each section.